Run Urbit in Background | Linux Service with Systemd
So you've deployed Urbit on your Linux device but now you want to ensure your Urbit is always running in the background and able to survive restarts. This little guide will show you how to do just that.
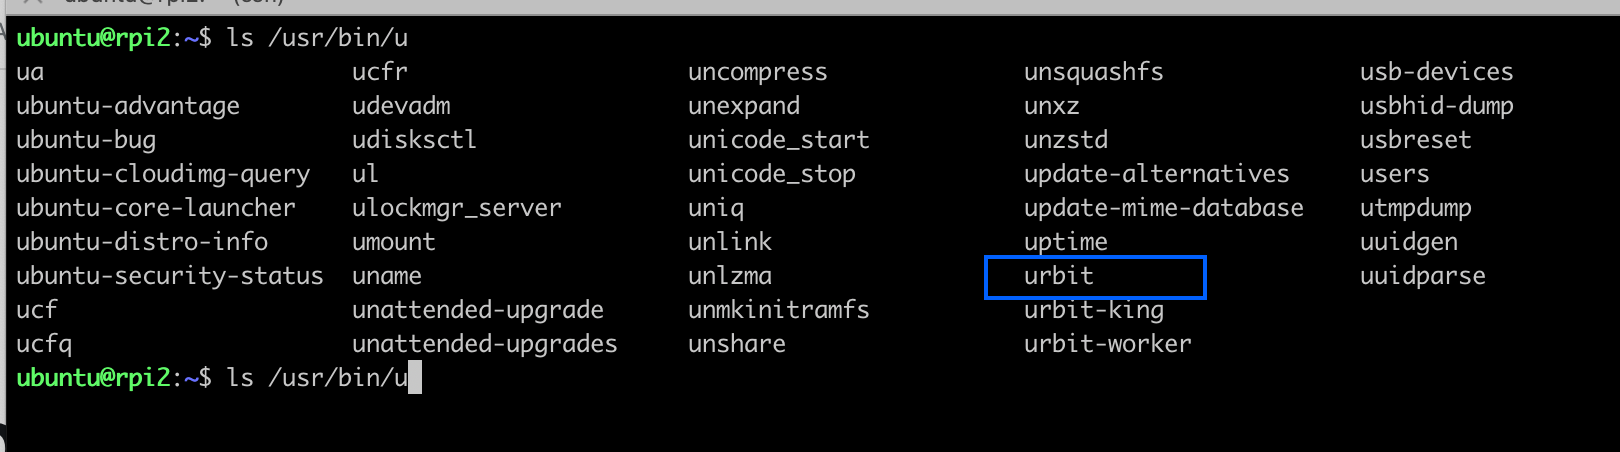
Verify Urbit Binary Location
In our case, the Urbit binaries have have been extracted to /usr/bin/urbit. Yours may be in /usr/local/bin . You can go to either of those directory, list out the files, and verify if your urbit binary is there. Make sure they are all owned by root, executable, and read-only for group and user (chown root:root ; chmod 755 ).
Create a Systemd Service
Create a file named urbit.service in /etc/systemd/system/ containing:
[Unit]
Description=Urbit
ConditionPathIsDirectory=/home/ubuntu/togtun-pocres//

[Service]
Type=forking
Restart=on-failure
RestartSec=3
ExecStart=/usr/bin/screen -dmS urbitplanet /usr/bin/urbit -t -p 32323 /home/ubuntu/togtun-pocres//


[Install]
WantedBy=multi-user.target
In this example you need to set ConditionPathIsDirectory to the path of where your Urbit pier folder is. This is the folder that is created where you first ran the Urbit binary from.
Set ExecStart to the path of where your Urbit binary is followed by any of the Urbit binary parameters. We are setting -t to disable terminal as this will be running in the background. -p is set to 32323 which a ames port of our choice. We end this line with the location of our pier folder once again.
Below is a copy of the Urbit man page so you can modify your urbit service as needed.
-A dir        Use dir for initial clay sync
-B pill       Bootstrap from this pill
-b ip         Bind HTTP server to this IP address
-C limit      Set memo cache max size; 0 means uncapped
-c pier       Create a new urbit in pier/
-D            Recompute from events
-d            Daemon mode; implies -t
-e url        Urbit ID (L2) gateway
-F ship       Fake keys; also disables networking
-G string     Private key string (see also -k)
-g            Set GC flag
-i jam_file   import pier state
-j            Create json trace file in .urb/put/trace
-K stage      Start at Hoon kernel version stage
-k file-path  Private key file (see also -G)
-L            local networking only
-P            Profiling
-p ames_port  Set the ames port to bind to
-q            Quiet
-R            Report urbit build info
-S            Disable battery hashing
-t            Disable terminal/tty assumptions
-u url        URL from which to download pill
-v            Verbose
-w name       Boot as ~name
-X path       Scry, write to file, then exit
-x            Exit immediately
-Y file       Optional name of file (for -X and -o)
-Z format     Optional file format ('jam', or aura, for -X)

Development Usage:
   To create a development ship, use a fakezod:
   urbit -F zod -A /path/to/arvo/folder -B /path/to/pill -c zod

   For more information about developing on urbit, see:
   https://github.com/urbit/urbit/blob/master/CONTRIBUTING.md

Simple Usage:
   urbit -c <my-comet> to create a comet (anonymous urbit)
   urbit -w <my-planet> -k <my-key-file> if you own a planet
urbit <my-planet or my-comet> to restart an existing urbitSave and exit out of urbit.service file and let's enable/start the service.
Enable/Start Urbit.service
With the file modified with your changes we can now enable that file and start it.
systemctl --system daemon-reload
systemctl enable --now urbit.service
systemctl start --now urbit.service
That's it. Your Urbit should be enabled and started as a service in the background. This means every time your linux devices boots up, Urbit will automatically start. You should be able to reach your Urbit as usual on http://localhost:8080 .
Screen Urbit Systemd Service
If you would like to actually reattach to the urbit binary thats running so you can access dojo, you will need to slightly modify your urbit.service file. Below are the changes:
[Unit]
Description=Urbit
ConditionPathIsDirectory=/home/ubuntu/togtun-pocres//

[Service]
Type=forking
Restart=on-failure
RestartSec=3
ExecStart=/usr/bin/screen -DmS urbitplanet /usr/bin/urbit -p 34123 /home/ubuntu/togtun-pocres//

[Install]
WantedBy=multi-user.target
You can see in the ExecStart line we begin with the screen binary. Then we set -dmS in which -Dm allows us to run a command in the screen session and not enter it interactively and -S lets us give the session a usable name so you can easily reconnect to it later. In our case we named the session urbitplanet. All of this is followed by our Urbit binary and its parameters.
Troubleshooting
You can see the status of your urbit.service by running:
systemctl status urbit.service
Here you can see not only the status of the service but a bit of the log output from the binary being run. If there is any error with the program or parameters you passed, this should be able to give you an idea.
If you have any questions or are interested in receiving a planet, you can contact us on our Urbit group InterestingSoup: ~togtun-pocres/interestingsoup or DM me: ~togtun-pocres.