Deploying Urbit on a Raspberry Pi 4 K3S Pod
Over the years since hearing about Urbit in 2017 I have deployed Urbit planets, moons, and comets in various ways: locally, VPS, Raspberry Pi, Docker, and Port. The only way left for me was deploying it on a Kubernetes (K8s) pod. Typically I would not even think about deploying anything on a K8s but recently I built a 4 node Raspberry Pi 4 K3s cluster so you can imagine my urge. Containerize everything!
K3s is K8s but a very light stripped down version of it. K3s is packaged as a single <50MB binary that reduces the dependencies and steps needed to install and run a Kubernetes cluster. It's perfectly compact to run efficiently on a Raspberry Pi but also powerful enough to run in an production grade environment.
 Shahraiz
Background
One of the first things I do before starting a K3s project is see if a docker image exists for the service I want to deploy as it makes the job 50% easier. So I Google searched for 'Urbit Docker Image', and came across an official TLON Urbit Docker Image . This was perfect, I can create a deployment.yaml, translate all the docker commands to a k3s manifest file, and apply it to my cluster. After creating the deployment.yaml I tested it locally on my MacBook everything was perfect but when I went and applied it on my K3s cluster I got an Linux `exec` error. After pulling out my hair for hours, I came to an realization that I was using an AMD64 image on an ARM64 architecture device and that there was no ARM64 Urbit docker image. So I ended up making one and we will be using it in this guide!
Learn more about the Aarch64 Image we made:
InterestingSoup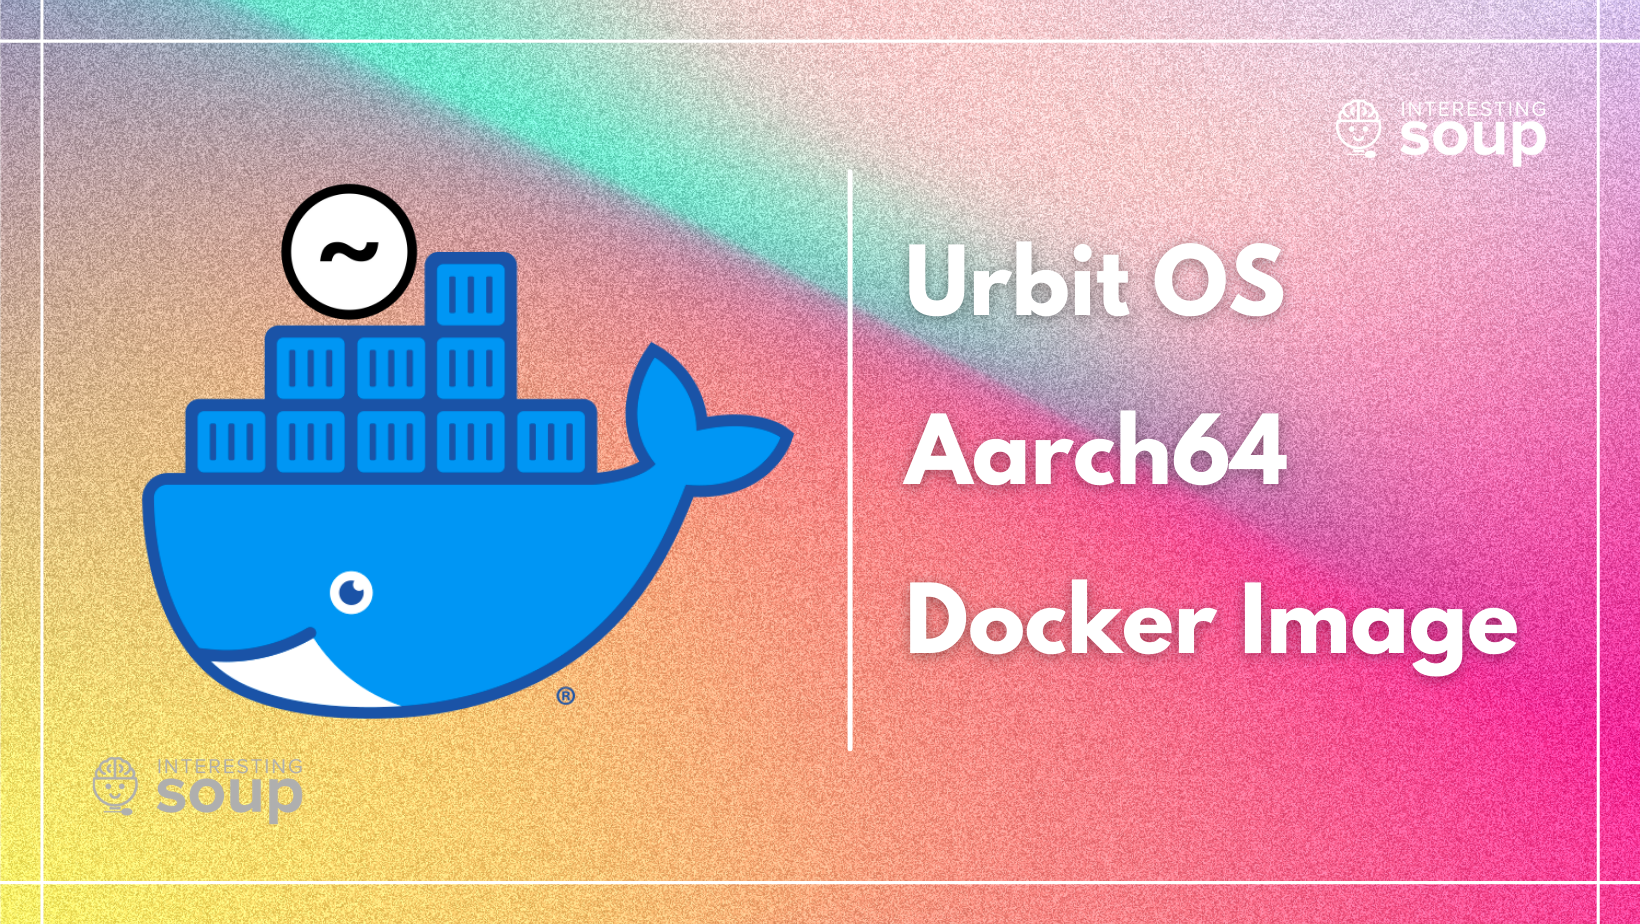
Before We Begin
Be aware that running Urbit on a microSD card may contribute to a slower Urbit experience. It is recommended to avoid MicroSD booted Pi and instead boot your Pi from a USB3 attached (UASP Supported) SSD.
Urbit-on-k3s repo: https://github.com/InterestingSoup/urbit-k3s-rpi
All the files in the repo need to be modified to work on your cluster, I've provided them as an example. You can pull these files and modify them or create them as you follow this guide.
We use MetalLb as our Load Balancer in this tutorial, it is responsible for providing our pod an external IP to accesses from outside of the cluster.
Urbit Deployment
Create Directory for Urbit's Data:
First create a directory where you would like to store your data, like your .key and pier folder. This can be local directory or a mounted directory. In my case I have mounted an external SSD to /mnt/ssd2, so I will create a folder in /mnt/ssd2/ called urbit. If you want to mount to a local directory you can still create a directory in /mnt/ and use that path.
mkdir /mnt/ssd2/urbitOnce the directory is created you can place your planet's .key here. In our case, its foplep-macneb-3.key
Create Namespace for Urbit:
Now we need to create a namespace for your Urbit to keep things organized. Namespaces are a way to organize clusters into virtual sub-clusters each logically separated from others but with the ability to communicate with each other.
kubectl create namespace urbit
Create Persistant Volume:
Kubernetes pods are ephemeral by nature, so that means all data stored in them are temporary. Once a pod is deleted or restarted all data is gone and it's as if you booted your pod for the first time. To solve for this, there is Persistent Volume (PV). PVs are a resource in the cluster just like a node is a cluster resource and allow you to mount local path or external drives to store your pod's data. This way, if a pod gets deleted and created again the data is retained because you had configured a PV.
Now let's create a file named pv.yaml with the contents below and change hostPath path to the directory location you created in the beginning.
apiVersion: v1
kind: PersistentVolume
metadata:
  name: urbit-pv-volume
  labels:
    type: local
spec:
  storageClassName: manual
  capacity:
    storage: 100Gi
  accessModes:
    - ReadWriteOnce
  hostPath:
    path: "/mnt/ssd2/urbit"
Save the file and apply it to your k3s cluster with the command below.
Be sure to specify your namespace with the -n or else everything will be created under the default namespace.
kubectl apply -f pv.yaml -n urbitVerify that the PV was created by running:
No need for -n as PV are global resources
kubectl get pvCreate Persistant Volume Claim:
Now we need to create a Persistent Volume Claim (PVC). A PVC is a request for storage. It is similar to a Pod. Pods consume node resources and PVCs consume PV resources. PVC can request specific size and access modes (e.g., they can be mounted ReadWriteOnce, ReadOnlyMany or ReadWriteMany).
apiVersion: v1
kind: PersistentVolumeClaim
metadata:
  name: urbit-pv-claim
spec:
  storageClassName: manual
  accessModes:
    - ReadWriteOnce
  resources:
    requests:
      storage: 100Gi
Save the file and apply it to your k3s cluster with the command below.
kubectl apply -f pvc.yaml -n urbitVerify that the PVC was created and bounded by running:
kubectl get pvc -n urbitIf both are created and bound, we are good to move on to creating the Urbit deployment.yaml.
Create deployment.yaml:
Usually this is a single file containing the deployment but since different arguments are required to boot and restart a planet we will create two separate deployment.yaml and name them new-planet.yaml and restart-planet.yaml respectively.
Lets start with new-planet.yaml:
apiVersion: apps/v1
kind: Deployment
metadata:
  name: urbit
  namespace: urbit
spec:
  replicas: 1
  selector:
    matchLabels:
      app: urbit
  template:
    metadata:
      name: urbit
      labels:
        app: urbit
    spec:
      securityContext:
        runAsUser: 1000
        fsGroup: 1000
      volumes:
      - name: urbit-pv-storage
        persistentVolumeClaim:
          claimName: urbit-pv-claim
      restartPolicy: Always
      containers:
      - name: urbit
        image: interestingsoup/urbit-aarch64
        stdin: true
        tty: true
        ports:
        - name: http
          containerPort: 80
        - name: ames
          containerPort: 23232
        command: []
        args: ["-w", "foplep-macneb", "-k", "foplep-macneb-3.key"]
        resources:
          limits:
            memory: "4Gi"
            cpu: "1000m"
          requests:
            memory: "2Gi"
            cpu: "500m"
        volumeMounts:
          - mountPath: "/urbit"
            name: urbit-pv-storage
Firstly check out the image: we are referencing! It's interestingsoup/urbit-aarch64, the Urbit docker image we created specifically for arm64 devices!
Then look at the volumes: line and verify your PV and PVC are referenced correctly.
One of the primary lines you need to modify here is the line:
args: ["-w", "foplep-macneb", "-k", "foplep-macneb-3.key"]
Here you need to replace foplep-macneb with your planet's name and foplep-macneb-3.key with your key name. This arg section takes all the arguments you would put when you run urbit binary, just be sure to format it as above.
Below is a copy of the available arguments you can pass in args:
-A dir        Use dir for initial clay sync
-B pill       Bootstrap from this pill
-b ip         Bind HTTP server to this IP address
-C limit      Set memo cache max size; 0 means uncapped
-c pier       Create a new urbit in pier/
-D            Recompute from events
-d            Daemon mode; implies -t
-e url        Urbit ID (L2) gateway
-F ship       Fake keys; also disables networking
-G string     Private key string (see also -k)
-g            Set GC flag
-i jam_file   import pier state
-j            Create json trace file in .urb/put/trace
-K stage      Start at Hoon kernel version stage
-k file-path  Private key file (see also -G)
-L            local networking only
-P            Profiling
-p ames_port  Set the ames port to bind to
-q            Quiet
-R            Report urbit build info
-S            Disable battery hashing
-t            Disable terminal/tty assumptions
-u url        URL from which to download pill
-v            Verbose
-w name       Boot as ~name
-X path       Scry, write to file, then exit
-x            Exit immediately
-Y file       Optional name of file (for -X and -o)
-Z format     Optional file format ('jam', or aura, for -X)

Development Usage:
   To create a development ship, use a fakezod:
   urbit -F zod -A /path/to/arvo/folder -B /path/to/pill -c zod
With the new-planet.yaml modified with your changes we can now apply it to our k3s cluster with the command below:
kubectl apply -f new-planet.yaml -n urbitGet Pod Status and Information:
Get pod status: Take note of the pod name
kubectl get pods -ACheck the description log of the pod by supplying pod name in command below:
kubectl describe pods <pod_name> -n urbitTo view your urbit log you can run the command below:
kubectl logs pods <pod_name> -n urbit

to tail the log

kubectl logs --follow pods <pod_name> -n urbit
If all goes well your container should have created, ran the Urbit docker image with the args you supplied, and error out. That is normal, we just want the Urbit to boot and shut down.
Delete Pod:
Before we can run the restart-planet.yaml deployment we need to delete the current pod deployment.
kubectl delete -f new-planet.yaml -n urbitNow we need to restart the ship. Essentially you can just go and change the args line with the necessary parameters but I wanted to keep a start-planet.yaml to have it available to boot other planets.
Restarting Planet:
Create a restart-planet.yaml with the contents below:
apiVersion: apps/v1
kind: Deployment
metadata:
  name: urbit
  namespace: urbit
spec:
  replicas: 1
  selector:
    matchLabels:
      app: urbit
  template:
    metadata:
      name: urbit
      labels:
        app: urbit
    spec:
      securityContext:
        runAsUser: 1000
        fsGroup: 1000
      volumes:
      - name: urbit-pv-storage
        persistentVolumeClaim:
          claimName: urbit-pv-claim
      restartPolicy: Always
      containers:
      - name: urbit
        image: interestingsoup/urbit-aarch64
        stdin: true
        tty: true
        ports:
        - name: http
          containerPort: 80
        - name: ames
          containerPort: 23232
        command: []
        args: ["-t", "foplep-macneb"]
        resources:
          limits:
            memory: "4Gi"
            cpu: "1000m"
          requests:
            memory: "2Gi"
            cpu: "500m"
        volumeMounts:
          - mountPath: "/urbit"
            name: urbit-pv-storage
Notice the different arguments being passed in args.
Apply the restart-planet.yaml to your k3s cluster:
kubectl apply -f restart-planet.yaml -n urbitView the logs and verify your planet is booting correctly
kubectl logs --follow pods <pod_name> -n urbitOnce you see :dojo> in the logs, that means you have successfully launched your planet ( or star or comet or moon) and it is successfully running. Here is also where you can confirm what port your landscape and ames is on.
Get Access Code (+code):
There are many ways to get the code from your running planet. I went with this cURL command I found in the Urbit docker image. I've never created a docker image before this so it's still something new for me. If you can make this process more streamlined, I'd love to review your PR and merge it with the urbit aarch64 docker image repo.
Run the following command to get your planet's code:
kubectl exec -it <pod_name> -n <namespace> -- curl -s -X POST -H "Content-Type: application/json" \
    -d '{ "source": { "dojo": "+code" }, "sink": { "stdout": null } }' \
    http://127.0.0.1:12321
It should output something like this "rander-suolus-guspod-wacel\n" . That is your access code, just e sure to remove the \n from it.
Service
We have our planet running successfully but we are unable to access it because we first need to create a service to access it. A service is an abstract way to expose an application running on a set of Pods as a network service.
Before continuing please make sure you have a LoadBalancer installed and configured. K3s by default comes with Traefik but I prefer to use MetalLB. You may follow instructions on MetalLb's site to get it setup.
Creating a Service:
Create a service.yaml and add the following to it:
apiVersion: v1
kind: Service
metadata:
  name: urbit
  namespace: urbit
  annotations:
spec:
  clusterIP:
  externalTrafficPolicy: Cluster
  selector:
    app: urbit
  ports:
    - name: https
      port: 80
      targetPort: 80
    - name: http
      port: 38254
      targetPort: 38254
  sessionAffinity: None
  type: LoadBalancer
status:
  loadBalancer:
    ingress:
    - ip: 192.168.4.211
This service.yaml creates a service, maps port of the pod to the LoadBalancer, and it assigns an external IP that we set. You can leave it blank if you want MetalLb to assign one itself.
Apply service.yaml to your cluster with the command below:
kubectl apply -f service.yaml -n urbitVerify your service has been created and mapping the correct ports.
kubectl get svc -AYou should now see that an external IP has been assigned to your pod. If you go to that IP, on any device connected to your network, you should be able to see your Landscape login screen. 🎉
Want to access your pod from anywhere in the world outside of your house network without opening any ports? We got you!
InterestingSoup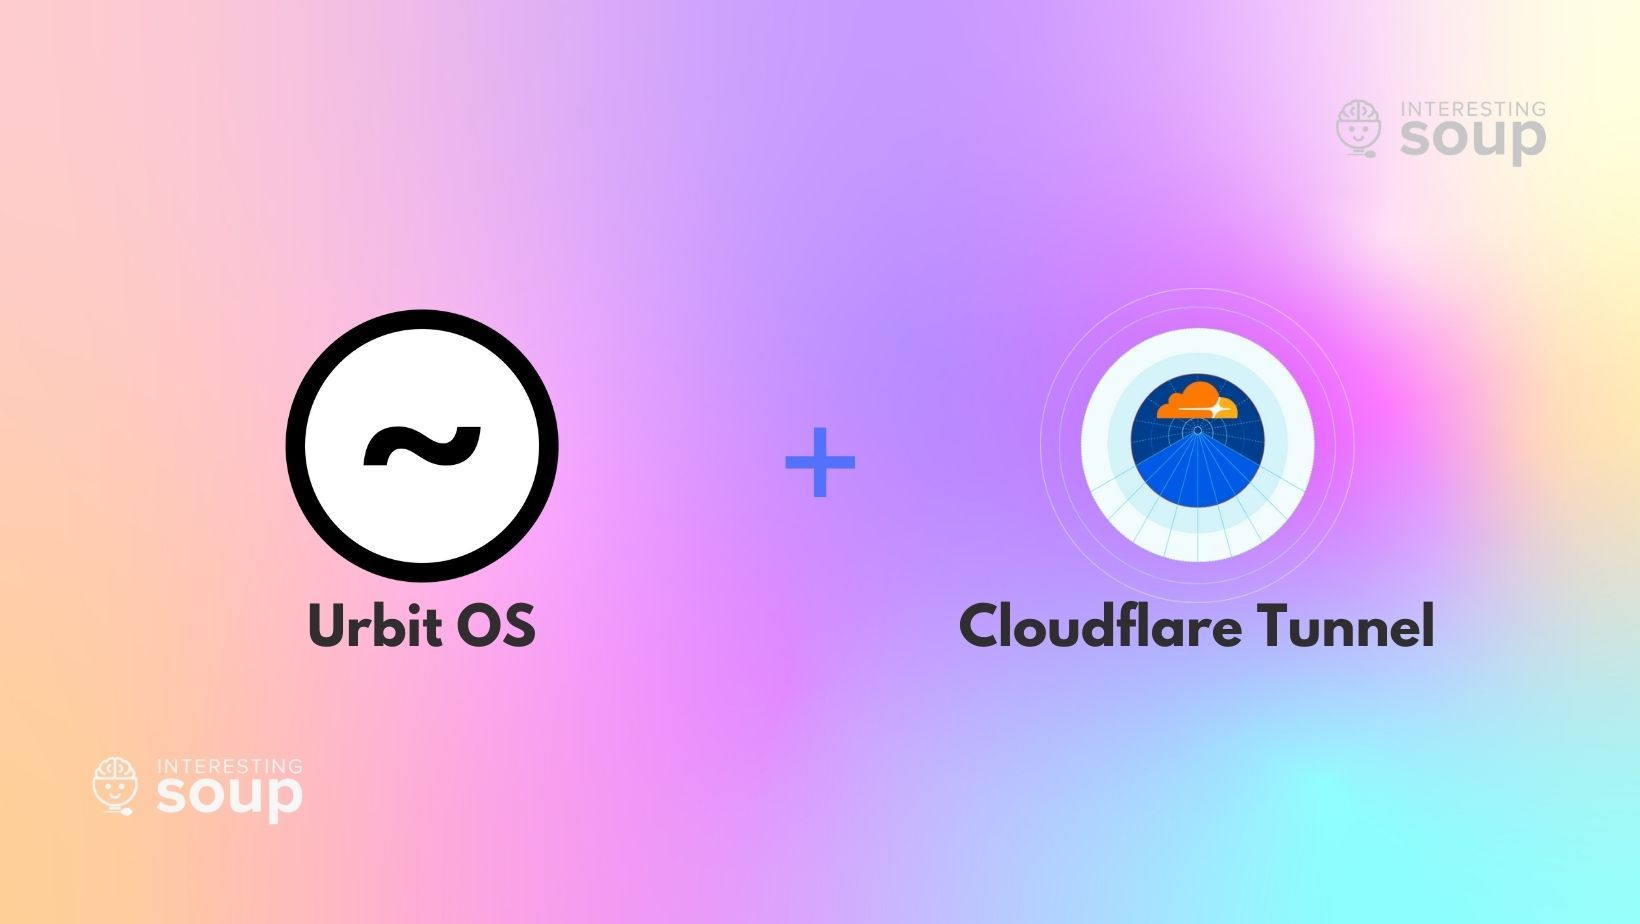
We hope you enjoyed getting your Urbit ship up and running on a K3s cluster. Let us know why you chose to go with this deployment method for your ships.
If you have any questions or are interested in receiving a planet, you can contact us on our Urbit group InterestingSoup: ~togtun-pocres/interestingsoup , DM me: ~togtun-pocres , or email [email protected] .