Run ChatGPT from Terminal with OpenAI API

Background
Running ChatGPT (GPT-3) locally, you must bear in mind that it requires a significant amount of GPU and video RAM, is almost impossible for the average consumer to manage. In the rare instance that you do have the necessary processing power or video RAM available, you may be able to download and run a substitute of GPT-3 called GPT-J-6B or another called Huggingface BLOOM. Although GPT-J-6B and the latter share many similarities with GPT-3, but they are not the same. Nonetheless, the point is that GPT-J-6B can be downloaded and run from the comfort of your own home. Got that type of power laying around? Learn more on GPT-J-6B here!
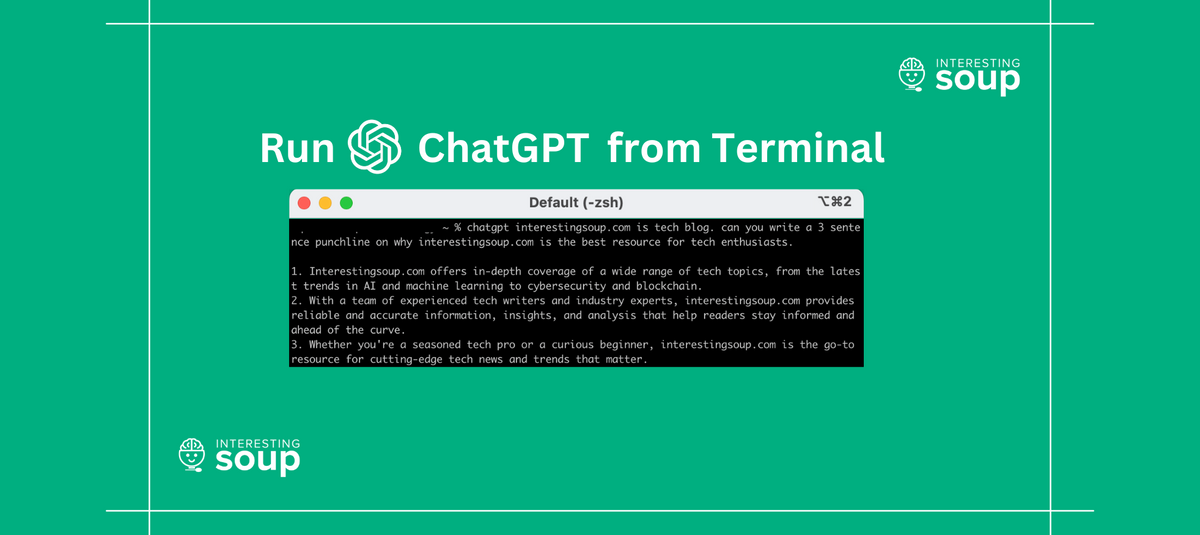
Just because you're unable to run ChatGPT locally, it doesn't mean you can't utilize its capabilities locally. While OpenAI API offers an easy way to access ChatGPT's capabilities, it also comes at a cost that might not be feasible for regular users. Fear not, as there's a solution that will allow you to use ChatGPT features locally without having to spend a dime on API access. Mmabrouk, a developer, has created an excellent ChatGPT wrapper that enables local usage of the model. In this guide, we will show you how to use this wrapper to run ChatGPT on your terminal and get access to its features quickly and effortlessly.
Requirements
Keep in mind, many of these requirements are already fulfilled on Mac. On our machine we only needed to run playwright install firefox
Repository: https://github.com/mmabrouk/chatgpt-wrapper
- Ensure you have Python3 installed:
sudo apt install python3-pip - To use this repository, you need
setuptoolsinstalled. You can install it usingpip install setuptools. - Make sure that you have the last version of pip:
pip install --upgrade pip - To use the /write command, you need to install vipe.
In ubuntu, you can install it withsudo apt install moreutils, in macos withbrew install moreutils - Install playwright using this command:
pip install pytest-playwright - Install rich using the below command:
python3 -m pip install rich - Install a browser in playwright (if you haven't already). The program will use firefox by default.
playwright install firefox - Install pyreadline3 with this command:
pip install pyreadline3
Installation
- Install the latest version of this software directly from github with pip:
pip install git+https://github.com/mmabrouk/chatgpt-wrapper2. Start up the program in install mode.
chatgpt installThis opens up a browser window. Log in to ChatGPT in the browser window, then stop the program.
3. After signing in, close the window. Close the Terminal and restart it. Now run this command:
chatgptYou should get the below message:
$ chatgpt
Provide a prompt for ChatGPT, or type !help or ? to list commands.
1>
Usage
One-shot mode
To run the CLI in one-shot mode, simply follow the command with the prompt you want to send to ChatGPT:
chatgpt Hello World!
Interacive mode
To run the CLI in interactive mode, execute it with no additional arguments:
chatgpt
Once the interactive shell is running, you can see a list of all commands with:
/help
...or get help for a specific command with:
/help <command>Useful Commands For the ChatGPT Wrapper
Other than having a usual conversation, you could use any of these built-in commands:
!new: For starting a new conversation.
!nav: For navigating to a past point in the conversation.
!log: Allow logging to a file.
!context: For loading old contexts from the log. It takes one parameter; a context string from logs.
!stream: To toggle between streaming mode (streams the raw response from ChatGPT) and markdown rendering (which cannot stream).
!read: For reading multi-line input.
!file: For reading the content of a file.
!session: To refresh your session information. This can resolve errors under certain scenarios.
InterestingSoup's ChatGPT Bot
Want to just access a ChatGPT bot without the setup? You can subscribe to our ChatGPT tier to receive an invite to our Mattermost instance. Here you can access the ChatGPT chat bot at your convenience. Learn more by clicking below!


